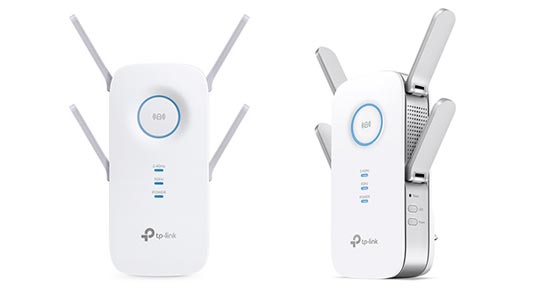
TP-Link RE650 Setup
In this guide, we have talked about three different methods through which the TP-Link RE650 setup process can be executed. Apart from that, we have shed light on how the setup issues can be fixed in case you face any. Thus, if you want to learn how to setup TP-Link RE650, then you should wait no more and give this guide a read.
TP-Link RE650 Setup via WPS Method
- First of all, pull out your TP-Link RE650 extender from its box.
- Find a working wall socket near the host router.
- Once found, plug the extender into it and press the power button.
- As soon as the LED becomes solid, press the WPS button.
- First, do so with the extender and then the router.
- Wait for some time.
- Now, consider changing the location of RE650.
TP-Link RE650 Setup via Manual Method
- Repeat the first three steps as given in the first method.
- Thereafter, get your hands on an Ethernet cable.
- Soon the Ethernet cable needs to be connected to the extender and router.
- Established the connection? Good. Open a computer.
- Access an internet browser.
- Type the default web address of your RE650 extender.
- Press the Enter key.
- Before you know it, the TP-Link RE650 login page will appear.
- Enter the login credentials.
- Make sure that you are typing them into their respective fields.
- Click the Log In button.
- Follow the on-screen prompts.
TP-Link RE650 Setup via TP-Link App
- Download the TP-Link app on your mobile device.
- You can access the Play Store or App Store to do so.
- After the installation of the app, create an account.
- Then, you will be asked to fill in the required details.
- Do the needful.
- Tap on the Log In button.
- The Quick Setup wizard will welcome you.
- Go through the steps displayed on the dashboard.
Call Toll Free For Support: 1-844-765-4831
How to Troubleshoot TP-Link RE650 Setup Issues?
As mentioned earlier, there is a possibility that you might encounter issues while trying to setup TP-Link RE650 extender. To get rid of them, follow the below-given hacks:
1. Ensure Proper Power Supply
An adequate power supply is the first thing that is required if you want to successfully complete the TP-Link RE650 setup process. Thus, make sure that the wall socket which is supplying power to your device is damage-free.
2. Use WPS-Enabled Router
If you are using the WPS method to setup TP-Link RE650 wireless range extender, then make sure that the router is WPS-enabled. Otherwise, no matter how many efforts you make, you will not be able to complete the setup procedure with ease.
3. Check Ethernet Connection
The Ethernet cable connecting your RE650 extender and your home router should not have any cuts on it. In case it does, it is recommended that you get a new one. Don’t want to do that? Well then, connect your networking devices using a wireless source of connection.
4. Enter the Correct Login Details
Did you not cross-check the login credentials before entering them? Is that a NO? Well, you should do it now. In case you are not so certain about the username and password of the RE650 extender, refer to the manual that came along with it.
5. Avoid WiFi Interference
Last, but not least, keep cellular phones, mirrors, fish tanks, refrigerators, microwave ovens, washing machines, treadmills, televisions, baby monitors, aluminium studs, and Bluetooth speakers should away from the TP-Link RE650 extender.
You can perform TP-Link RE650 setup right after going through these troubleshooting hacks. In case, you are still far from getting any luck, contact our technical experts. Trust us; before you can even bat an eye, they will fix the issue for you.