
TP-Link Repeater Setup
Getting frustrated because of a poor internet connection is a situation faced by many people in the 21st century. Unfortunately, in case you are one of them, then you will find relief in the fact that we have the perfect solution for you to opt for, i.e. TP-Link wireless repeaters. A synonym used for TP-Link WiFi extender, a repeater can be set up so that you can enhance the speed of your existing network, in other words, say goodbye to crappy internet days. Now, the question is, how can you do TP-Link repeater setup? Read the information given on this page and find out.
Call Toll Free For Support: 1-844-765-4831
What Do You Need For TP-Link Repeater Setup?
Prior to doing TP-Link range extender setup, you need to become aware of a couple of things to achieve setup success. They have been highlighted here:
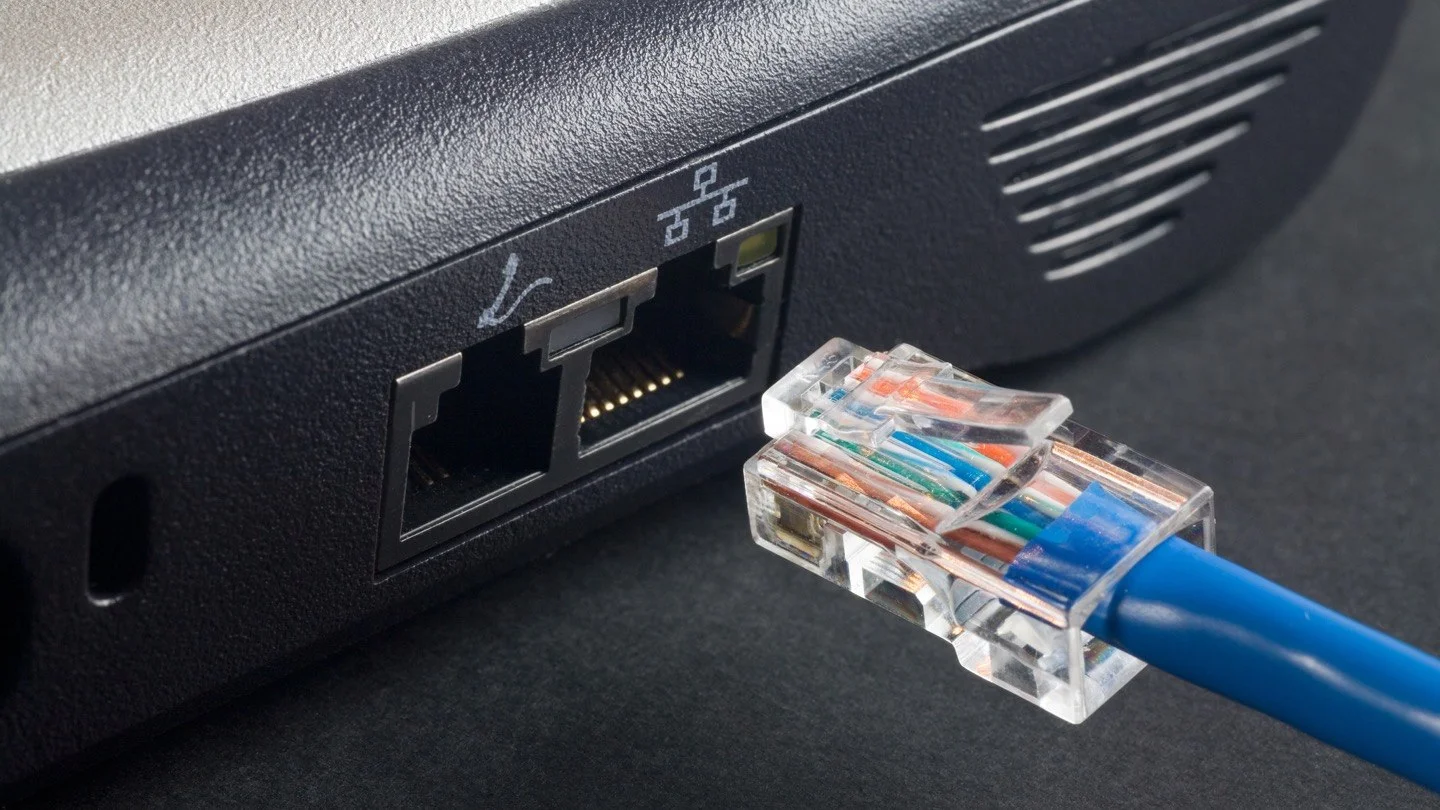
- A damage-free Ethernet cable
- The default admin TP Link login username and password
- An already-installed wireless router
- A computer or laptop, whichever you are currently using
Apart from these things, you need to make sure that you have access to the default IP address of the TP Link repeater. The reason being, at times users face issues while trying to perform TP Link extender setup using tplinkrepeater.net.
Keep in mind that regardless of the address that you are using, no typing errors should be found in the entrée. Apart from that, only the address bar or the URL field, whatever you want to call it should be used for TP Link extender setup. Avoid using the search bar.
How Can We Start TP-Link Extender Setup Process?
Now that you have gained an insight into what all you need for the TP-Link WiFi extender setup process, let us start executing it, shall we?
- Find an ideal location to place your repeater.
- Ensure that the location you will choose is near the existing router.
- After that, plug your device into a power outlet.
- Hit the power button to turn the device on, of course.
- Use an Ethernet cable to connect the networking devices.
- Gain access to a laptop or computer.
- Open an internet browser of your choice.
- Access tplinkrepeater.net or 192.168.0.254.
- Enter the required details.
- Your repeater will start scanning the wireless networks around.
- Select the one that you want to extend and hit Finish.
Now, you can make your devices access the network of the TP Link wireless repeater and start using a blazing-fast and seamless internet connection. As soon as the TP-Link range extender setup process concludes, the only thing that can be done would not be just to access the internet, right? Surely there are other things one can do, like changing the settings of the networking device. Yes, you got that right. Just like you can customize your new mobile phones after setting them up, in the same way, you can give a personal touch to your repeater. To know what all you can change after TP Link setup, read these points: The very first thing that can be done is to hide the network name of the TP-Link WiFi extender. This will ensure that no hacker or unauthorized user is able to access your network and misuse it. The process of hiding the network name is quite easy. To know how to go about it, here are the steps that can be followed by you: Every device gets an update every once in a while to help the user enjoy an enhanced performance. You can do the same with the TP Link firmware update. Doing so will also fix bugs and errors in case any are standing in the path of ruining the functionality of the TP-Link WiFi extender. Here is how the TP Link firmware of your device can be updated: TP link is a famous brand that distributes networking devices like WiFi router, range extender, boosters and... TP-Link is famous for providing boosters, repeater, routers and mesh WiFi devices to the internet users. The... Signal repeaters are those network devices that help your home network routers to reach at their maximum WiF...
What Can Be Done After TP-Link Extender Setup?
Hide Network Name
Update TP Link Firmware
Recent Blogs
TP Link AX3000 Review: WiFi Range Extender
February 8, 2024
TP-Link Deco W7200 mesh WiFi: Installation Guide
January 29, 2024
TP Link vs Netgear: Signal Repeater Short Comparison
January 12, 2024
Call Toll Free For Support: 1-844-765-4831
Disclaimer: Tp-linkrepeatersetup.com is an independent service provider for a large variety of third-party products, brands, and services. Any use of trademarks, brands, products, and services is referential. We hereby disclaim any association, affiliation; direct or indirect, or representation in any form, of any such brand, product, or service. Our services are provided only on request by users.