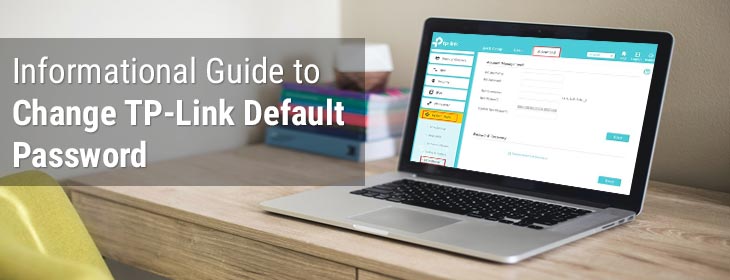
Informational Guide to Change TP-Link Default Password
As we all know, TP-Link WiFi extenders come with a default user SSID or password. These admin details allow you to connect to the internet without any trouble. But, A lot of users complain about their wireless devices are getting hacked and their networking settings are accessed by unknown users. If you are one of those users whose network settings are accessed by someone. Do you wish to alter the TP-Link default password at this time? You are in the right place if your response is yes.
Here, we have discussed step-by-step guidelines that will help you to change the TP-Link wireless range extender default password. Without any further delay; let’s begin.
Steps to Change TP-Link Default Password
The process to change the TP-Link extender default password is quite easy. If you don’t know how to change the default password, then follow the instructions discussed underneath in the exact order.
Before you begin, be sure that you have connected the TP-Link WiFI extender to the home router using the Ethernet cable. Along with that confirm that the Ethernet cable connection is not loose.
I. Launch an Internet Browser
The first thing you need to do is power on the computer or laptop. Once done, open a web browser. You can pick any browser of your choice such as Google Chrome, Brave, Internet Explorer, Vivaldi, Mozilla Firefox, Opera, or Apple Safari. Whatever browser you choose, make sure that it is upgraded to its latest version.
II. Access the TP-Link Web Page
Now, navigate to the address bar of the browser and type the default web URL in it and press the Enter key. The default web address is tplinkrepeater.net. Just in case, the default web URL is not working then use the IP address i.e.192.168.0.254.
III. Enter the Admin Details
Once you hit the Enter key, the TP-Link extender login window will display. Now, fill in the default username or passphrase in the specified field and click on the Login button. In case, you are unsure about the default login credentials, then take the help of the user manual.
IV. Change the Extender Password
Once you logged in, the TP-Link web interface will come into view. Here, go to Settings > System Tools > Admin Account. Now, enter the old password i.e. default password in the required field. Thereafter, type the new password into the fields labeled New Password and Confirm. Once done, click on Save/Apply button to save the changes.
In this manner, you can easily change the TP-Link default password. But, sometimes many users are unable to change the extender’s default password. If you are also one of them, then follow the troubleshooting tips.
Can’t Change the TP-Link Default Password?
1. Check Power Supply
One of the most common reasons why you are not able to change the TP-Link extender password is due to improper power supply. To do away with this issue, be sure that your extender or host router receives a stable and ample power supply from the wall outlet. Just in case, the power socket you use is defective, insert the WiFi devices into other sockets.
2. Disable Antivirus Software
As everyone knows that antivirus software protects client devices from viruses or malicious software such as Adware, Trojan Horses, Ransomware, or Spyware. But, sometimes this software is not compatible with networking sites. To troubleshoot this issue, disable the antivirus software for some time.
3. Reset the TP-Link Extender
If none of the above-mentioned hacks work for you, then reset the TP-Link range extender to a factory default settings. If you have no idea how to reset the extender, then walk through the steps mentioned below:
- Firstly, find the Reset button on the TP-Link extender.
- Once found, press or hold it carefully.
- Wait for some time and release the button.
Once the reset process is done, do not forget to perform TP-Link extender setup again.
Bottom Lines
That’s it! We end our guide on how to change the TP-Link default password. We believe that you can easily change the wireless range extender password in a hassle-free way.