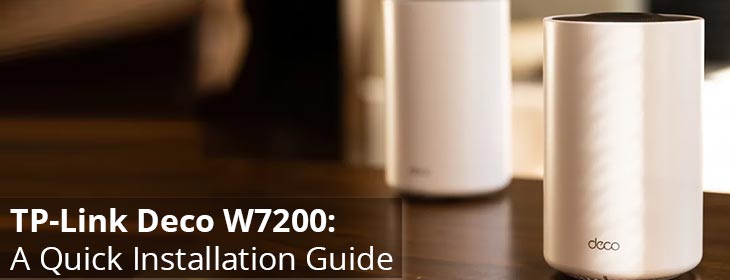
TP-Link Deco W7200: A Quick Installation Guide
TP-Link Deco W7200 is an AI-driven tri-band WiFi mesh system. After you install the mesh system in your home, there will not be any more WiFi dead spots around. You can enjoy seamless roaming throughout your home with one WiFi name. One WiFi name imply all the Deco devices will have the same WiFi name. As you move around the home, the device gets connected to the closest Deco without getting disconnected from the network.
In this guide, we shall walk you through the easy steps to install the Deco system in your home without getting into any mess. Continue the perusal!
How to Set Up TP-Link Deco W7200?
You can set up your Deco W7200 in any of the two modes:
1. Access Point mode
2. Wireless Router mode
The process of setting up Deco in both modes is almost the same. However, there are a few variations.
Use the steps given ahead to complete the installation process. Before you initiate the setup process, power down the modem, if you have it installed in your home. This will help you avoid any setup issues.
1st Step: Down Deco App
Just like the TP-Link Tether app is used for TP-Link extender setup, the Deco app is an easy and the best way to set up and manage your TP-Link Deco system. The app is available for both Android as well as iOS platforms. So, unlock your smartphone or tablet and head toward the App Store or Play Store. Find the Deco app using the Search bar. Download and install the app.
2nd Step: Log in to the Deco App
The moment the app gets installed on your device, launch it. You now need to sign in or log in using the TP-Link ID and password. In case, you do not have a TP-Link account yet, then sign up right away and create one first.
After that, log in to your app. Choose your Deco model from the list.
3rd Step: Connect TP-Link Deco W7200 & Modem
Now, you need to establish the connection between the main Deco and the modem. With an Ethernet cable, connect the LAN port on the modem to the Ethernet port on the Deco W7200. If you do not have a modem installed, then you need to connect the Deco directly to the Ethernet outlet using the LAN cable. The connection should be well secure. Verify the connection and power on the devices.
4th Step: Choose a Location for Deco
You will find some locations listed on your screen. Select the place where you have placed the main Deco device. In case the location is not in the list, then select ‘Custom’ and create a new location. Tap Next.
5th Step: Set Up Internet Connection
Select the internet connection type that you have from the list. If you are not sure about this, then you can get in touch with your internet service provider for assistance.
6th Step: Set Up Wireless Network
On the next page, assign a WiFi name and password for the new network. This WiFi name and password will be used by you to connect to the Deco’s WiFi. Tap Next and then connect your devices to its network. The TP-Link Deco W7200 setup is now completed.
Add More Decos to the Network
You can now add other Deco satellites to the network and create a mesh WiFi. To add more devices, go to the Overview page on the app and tap the Deco model that you want to add. Keep on following the instructions and adding the Decos.
Using the same steps, you can add all other Deco satellites. Now that you have the Deco mesh system installed in your home, you have Deco devices placed in various corners of the home. This has created a virtual WiFi mesh in the home. You can get your client devices connected to the Deco WiFi.
In the End
We hope you have completed the TP-Link Deco W7200 setup using the Deco app by following the instructions given above. You can manage the TP-Link Deco using the same Deco app. Simply log in to the app and in the dashboard, you can check the status of each Deco and the connected devices. The same Deco app dashboard can be used to get the devices updated, manage WiFi settings and have complete control over your home network.